
DIY 冷氣清潔: A Step-by-Step Guide to Air Conditioner Maintenance


Maintaining your air conditioner is crucial to ensure it functions efficiently during those scorching summer months. A regular DIY cleaning can improve your unit's performance, extend its lifespan, and save you from costly repairs. Here’s a step-by-step guide to help you clean your air conditioner at home.
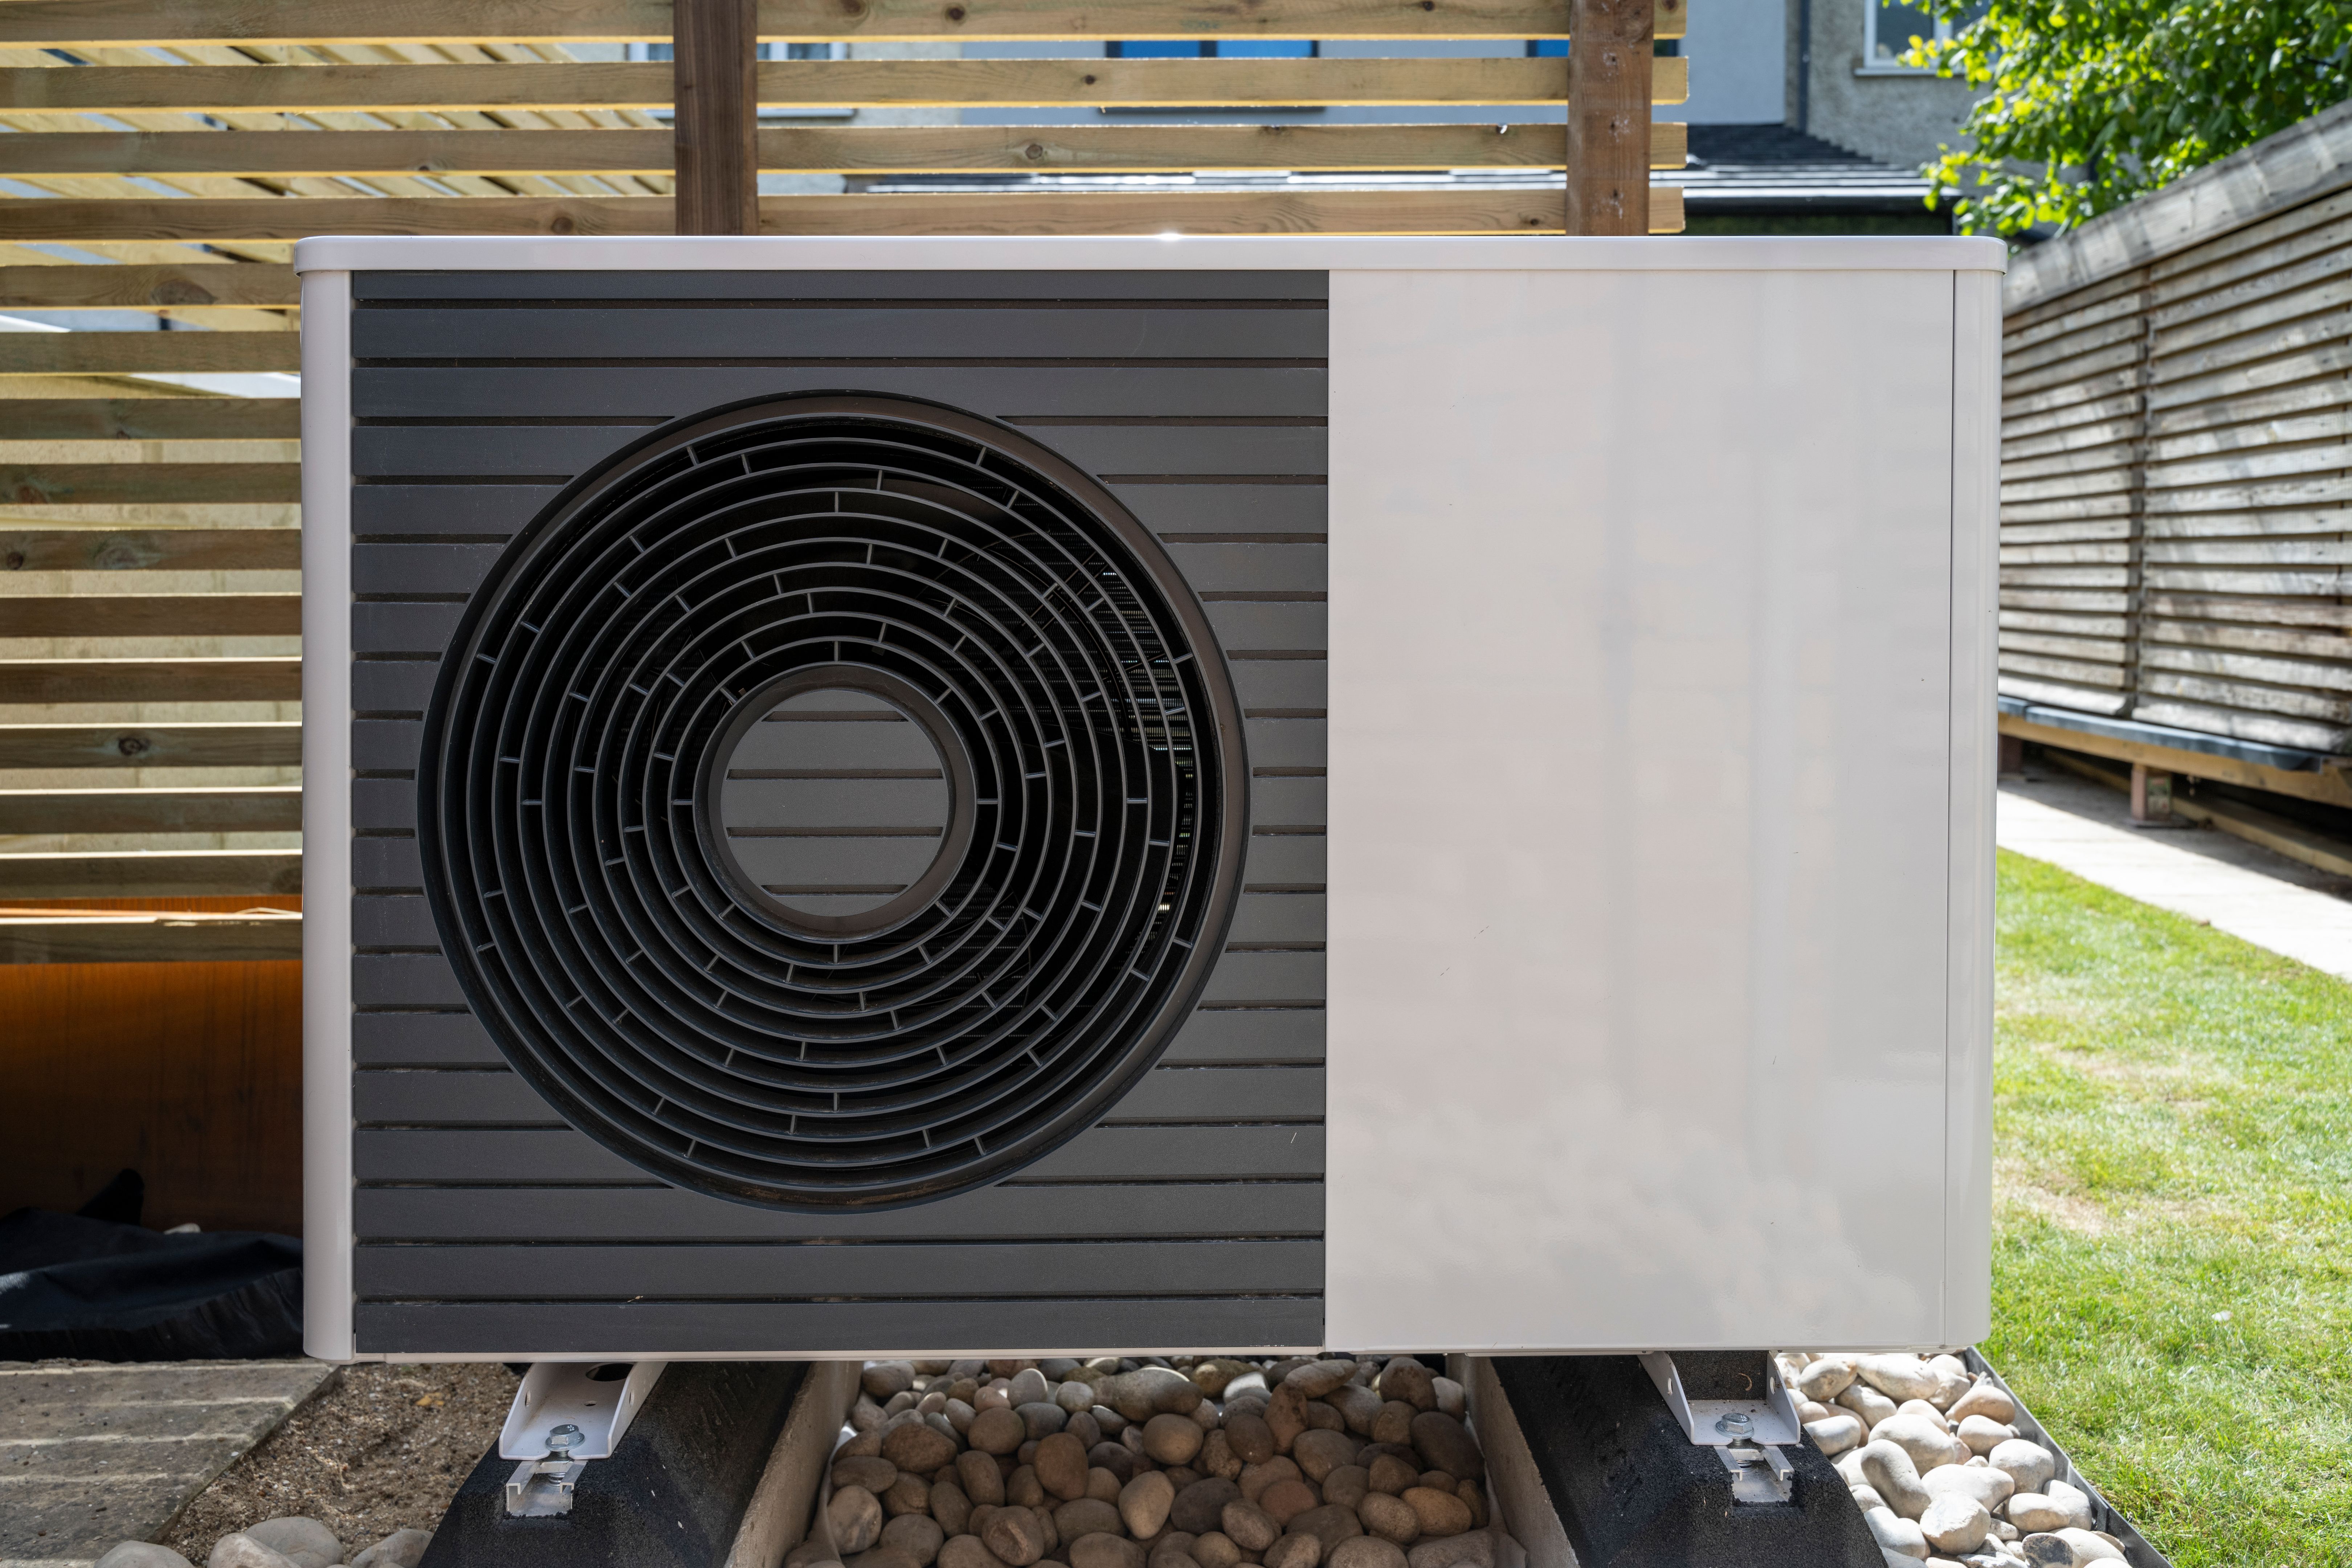
Understanding Your Air Conditioner
Before diving into the cleaning process, it's essential to familiarize yourself with the basic components of your air conditioner. The main parts include the evaporator coil, condenser coil, air filter, and fins. Knowing these components will make the cleaning process more manageable and effective.
Gathering Your Tools and Materials
To begin the cleaning process, you'll need a few essential tools and materials. Here's a list of what you'll require:
- Screwdriver
- Soft brush or cloth
- Vacuum cleaner with a brush attachment
- Mild detergent or coil cleaner
- Water hose or spray bottle
- Fin comb (optional)
Having everything at hand will make the process smoother and more efficient.
Step-by-Step Cleaning Process
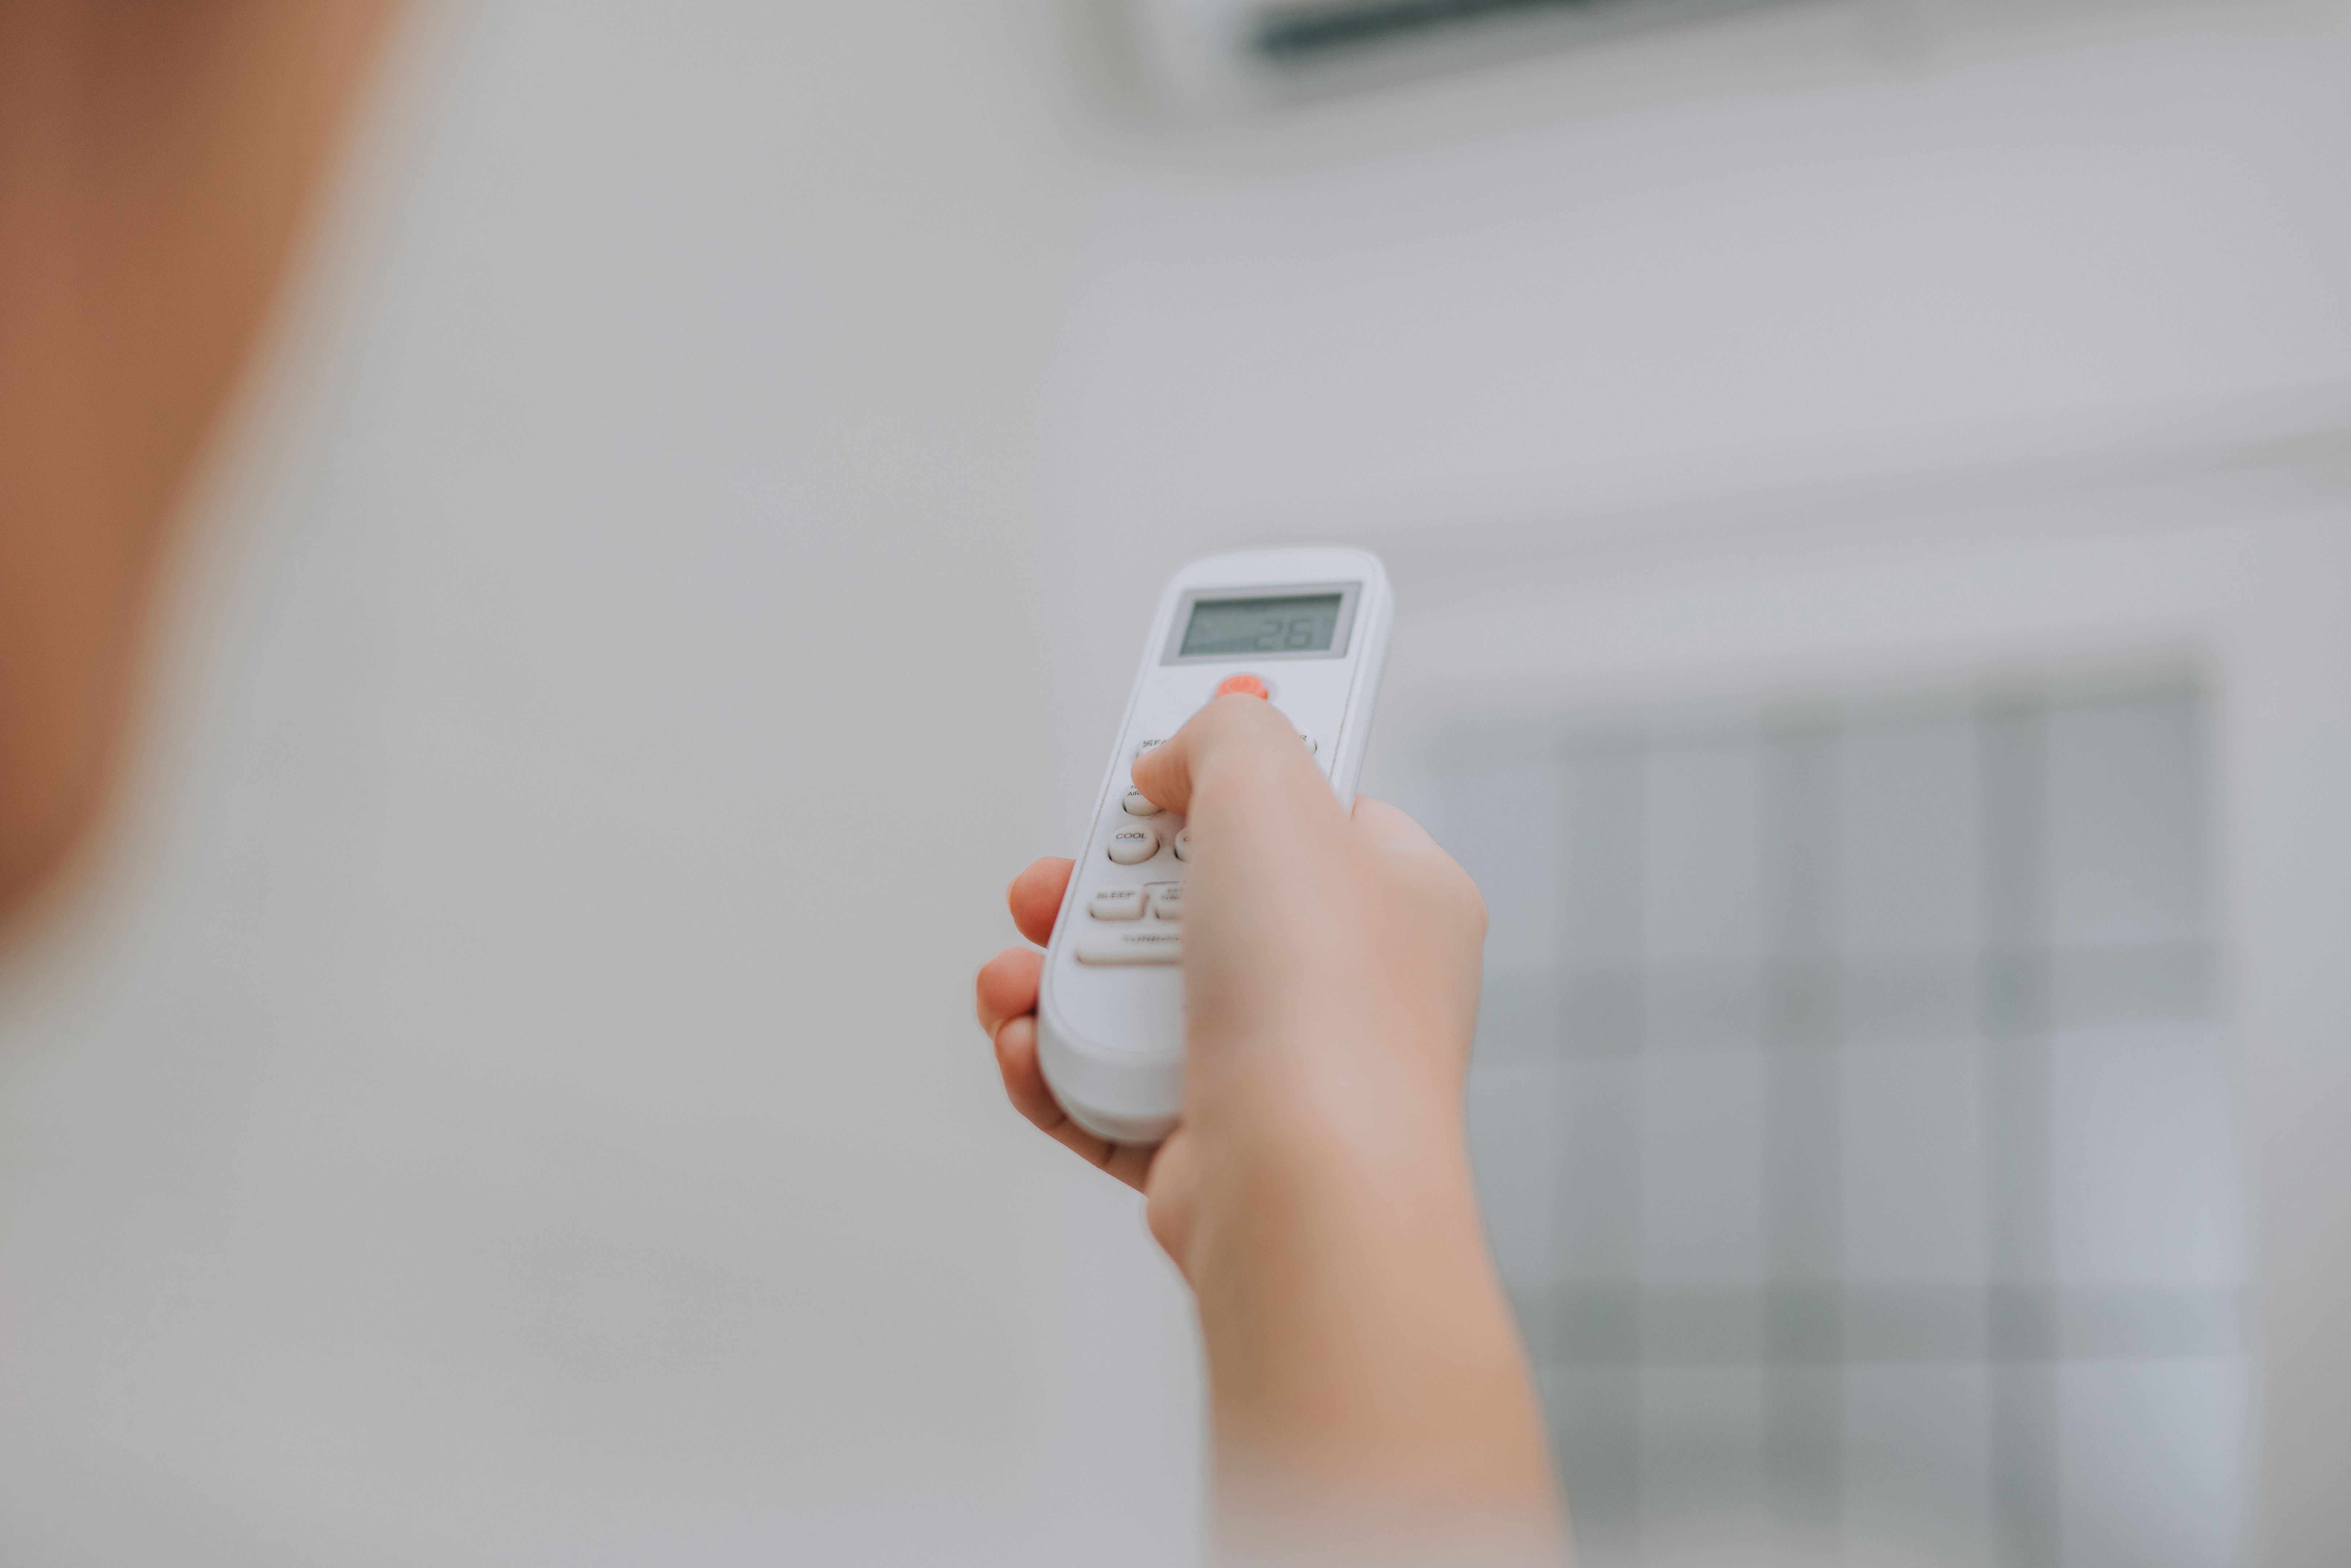
1. Turn Off the Power
Safety first! Before starting any maintenance, ensure the power to your air conditioner is turned off. This can usually be done from the circuit breaker panel. This step is crucial to avoid any electrical accidents while cleaning.
2. Clean or Replace the Air Filter
The air filter plays a vital role in trapping dust and debris. Over time, it can become clogged, reducing airflow and efficiency. Remove the filter and inspect it. If it's reusable, wash it with warm soapy water and let it dry completely before reinstalling. If it's not reusable, replace it with a new one.
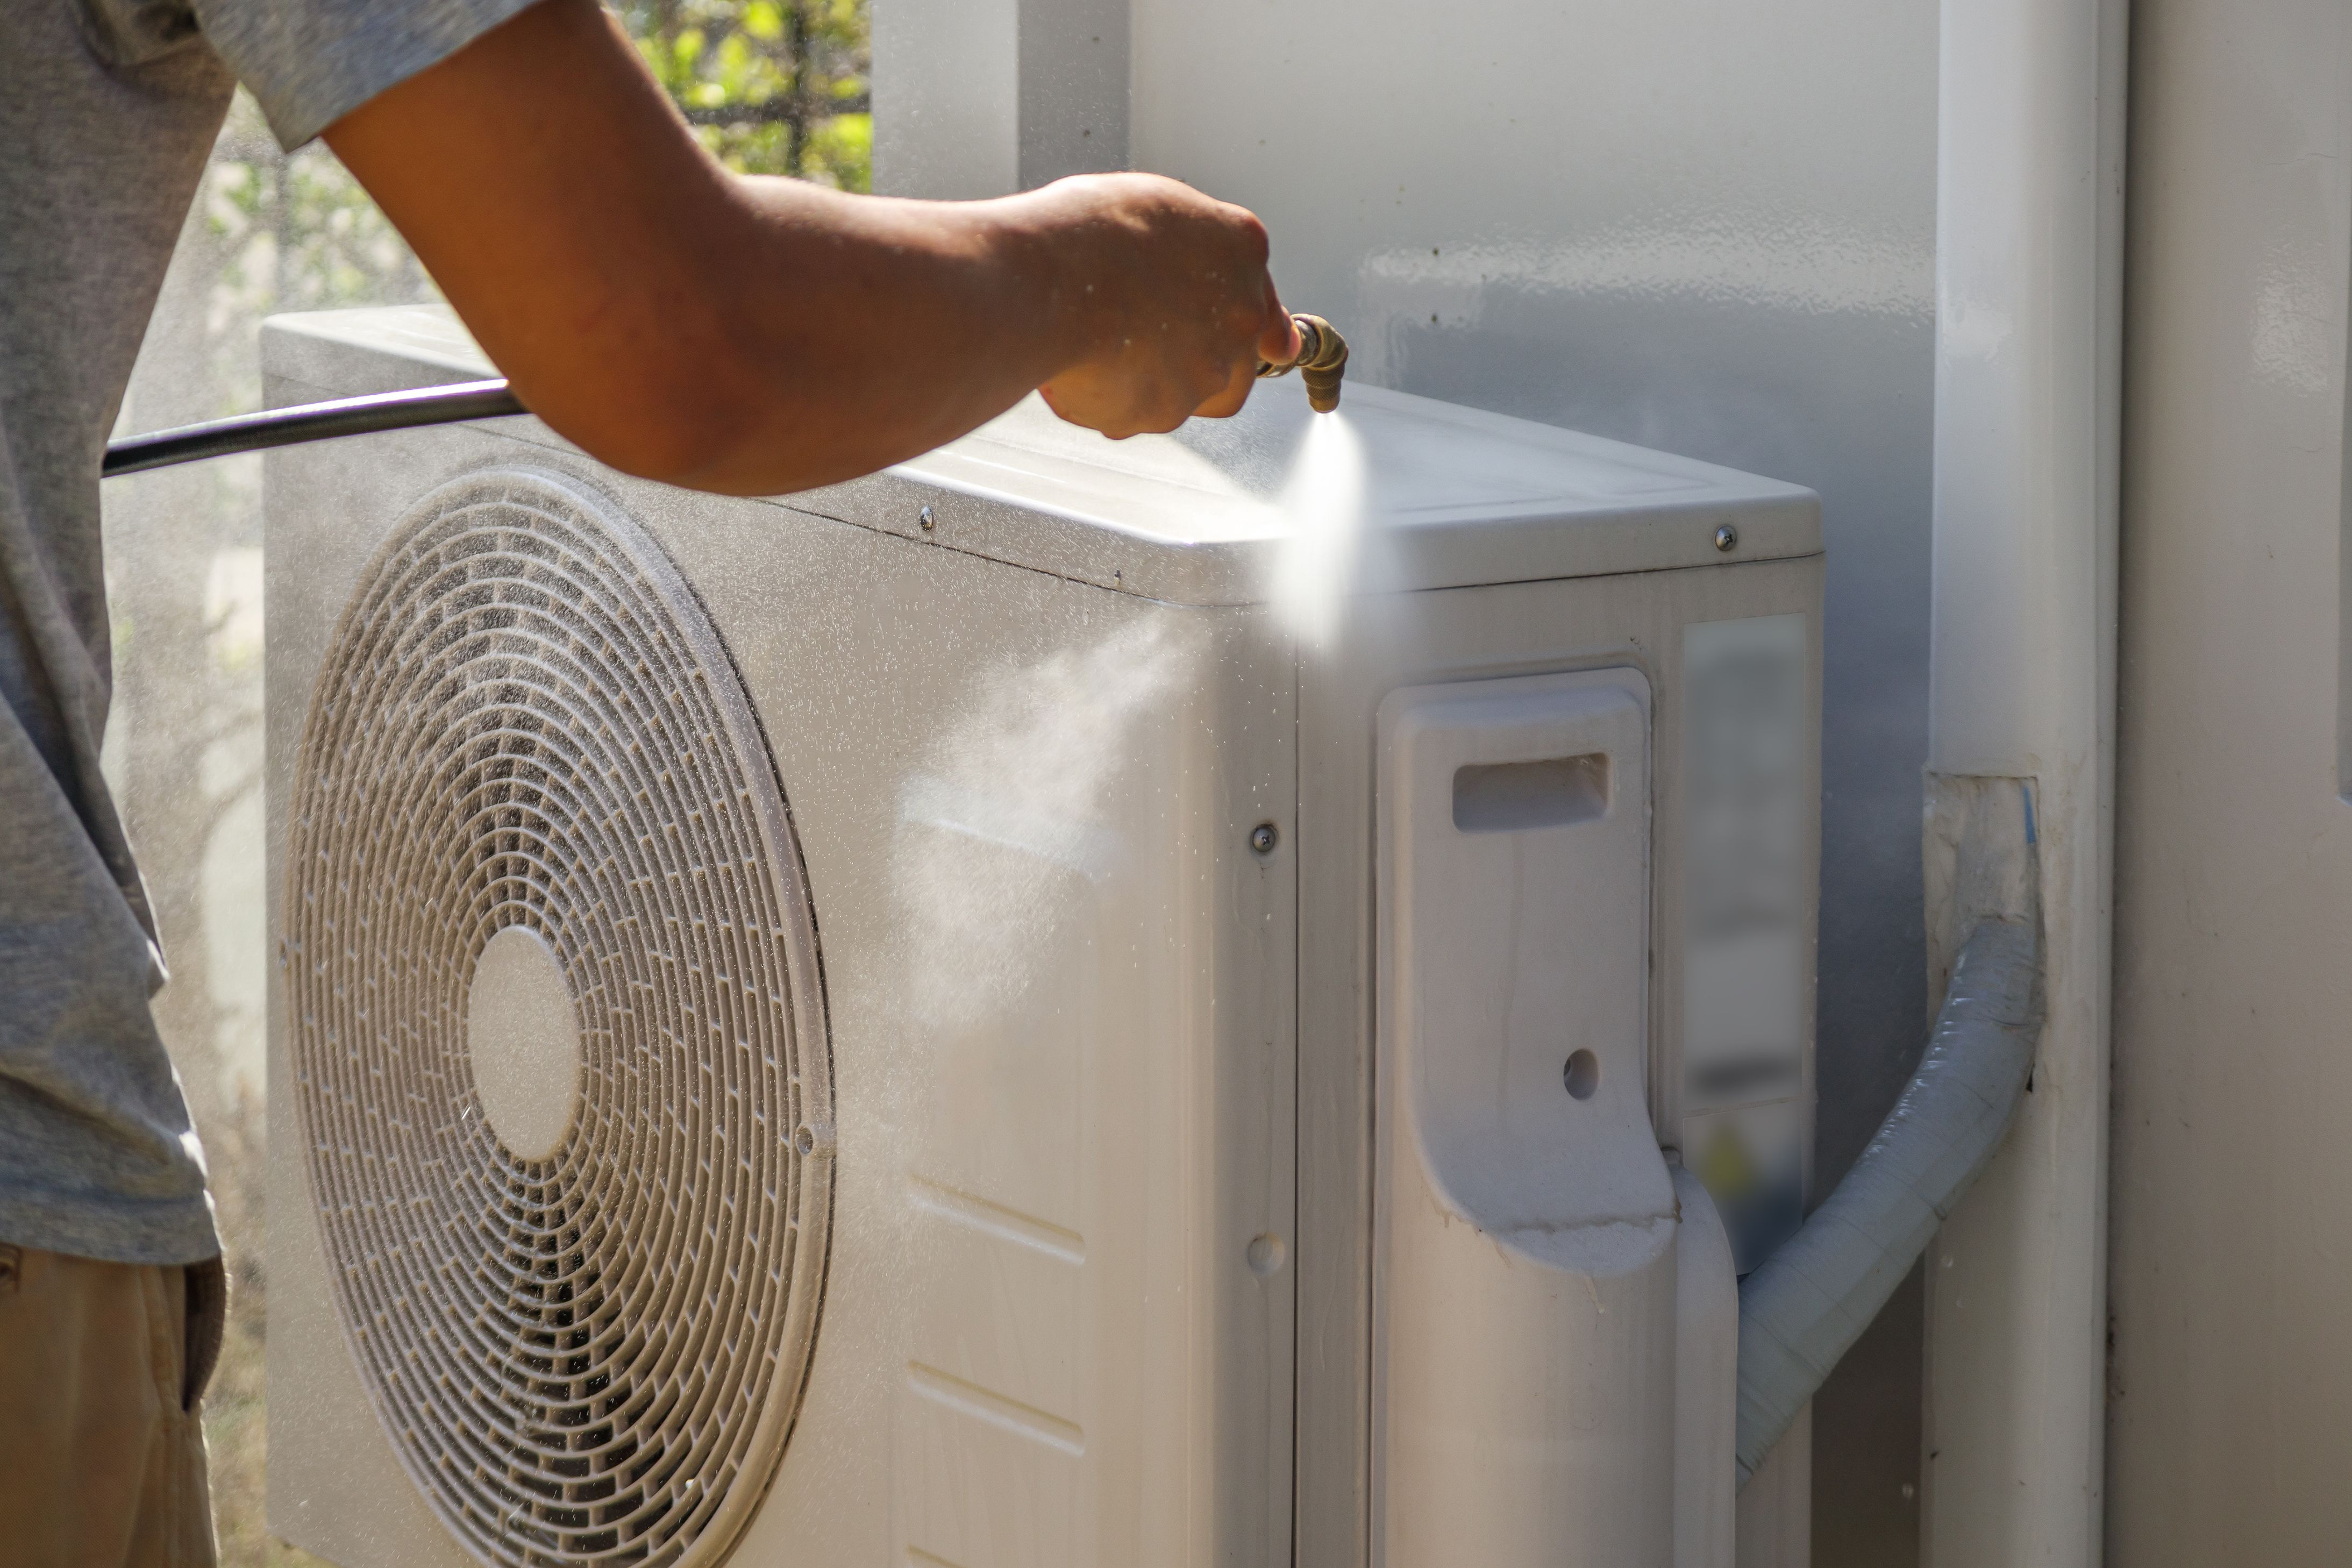
3. Clean the Evaporator and Condenser Coils
The coils are essential for cooling and need regular cleaning to function efficiently. Use a soft brush or vacuum to remove loose dirt and debris from the coils. For stubborn grime, apply a coil cleaner or mild detergent. Rinse thoroughly with water using a spray bottle or hose.
4. Straighten the Fins
The fins on your air conditioner can bend over time, restricting airflow. Use a fin comb to gently straighten any bent fins. Be careful during this step to avoid damaging the fins.
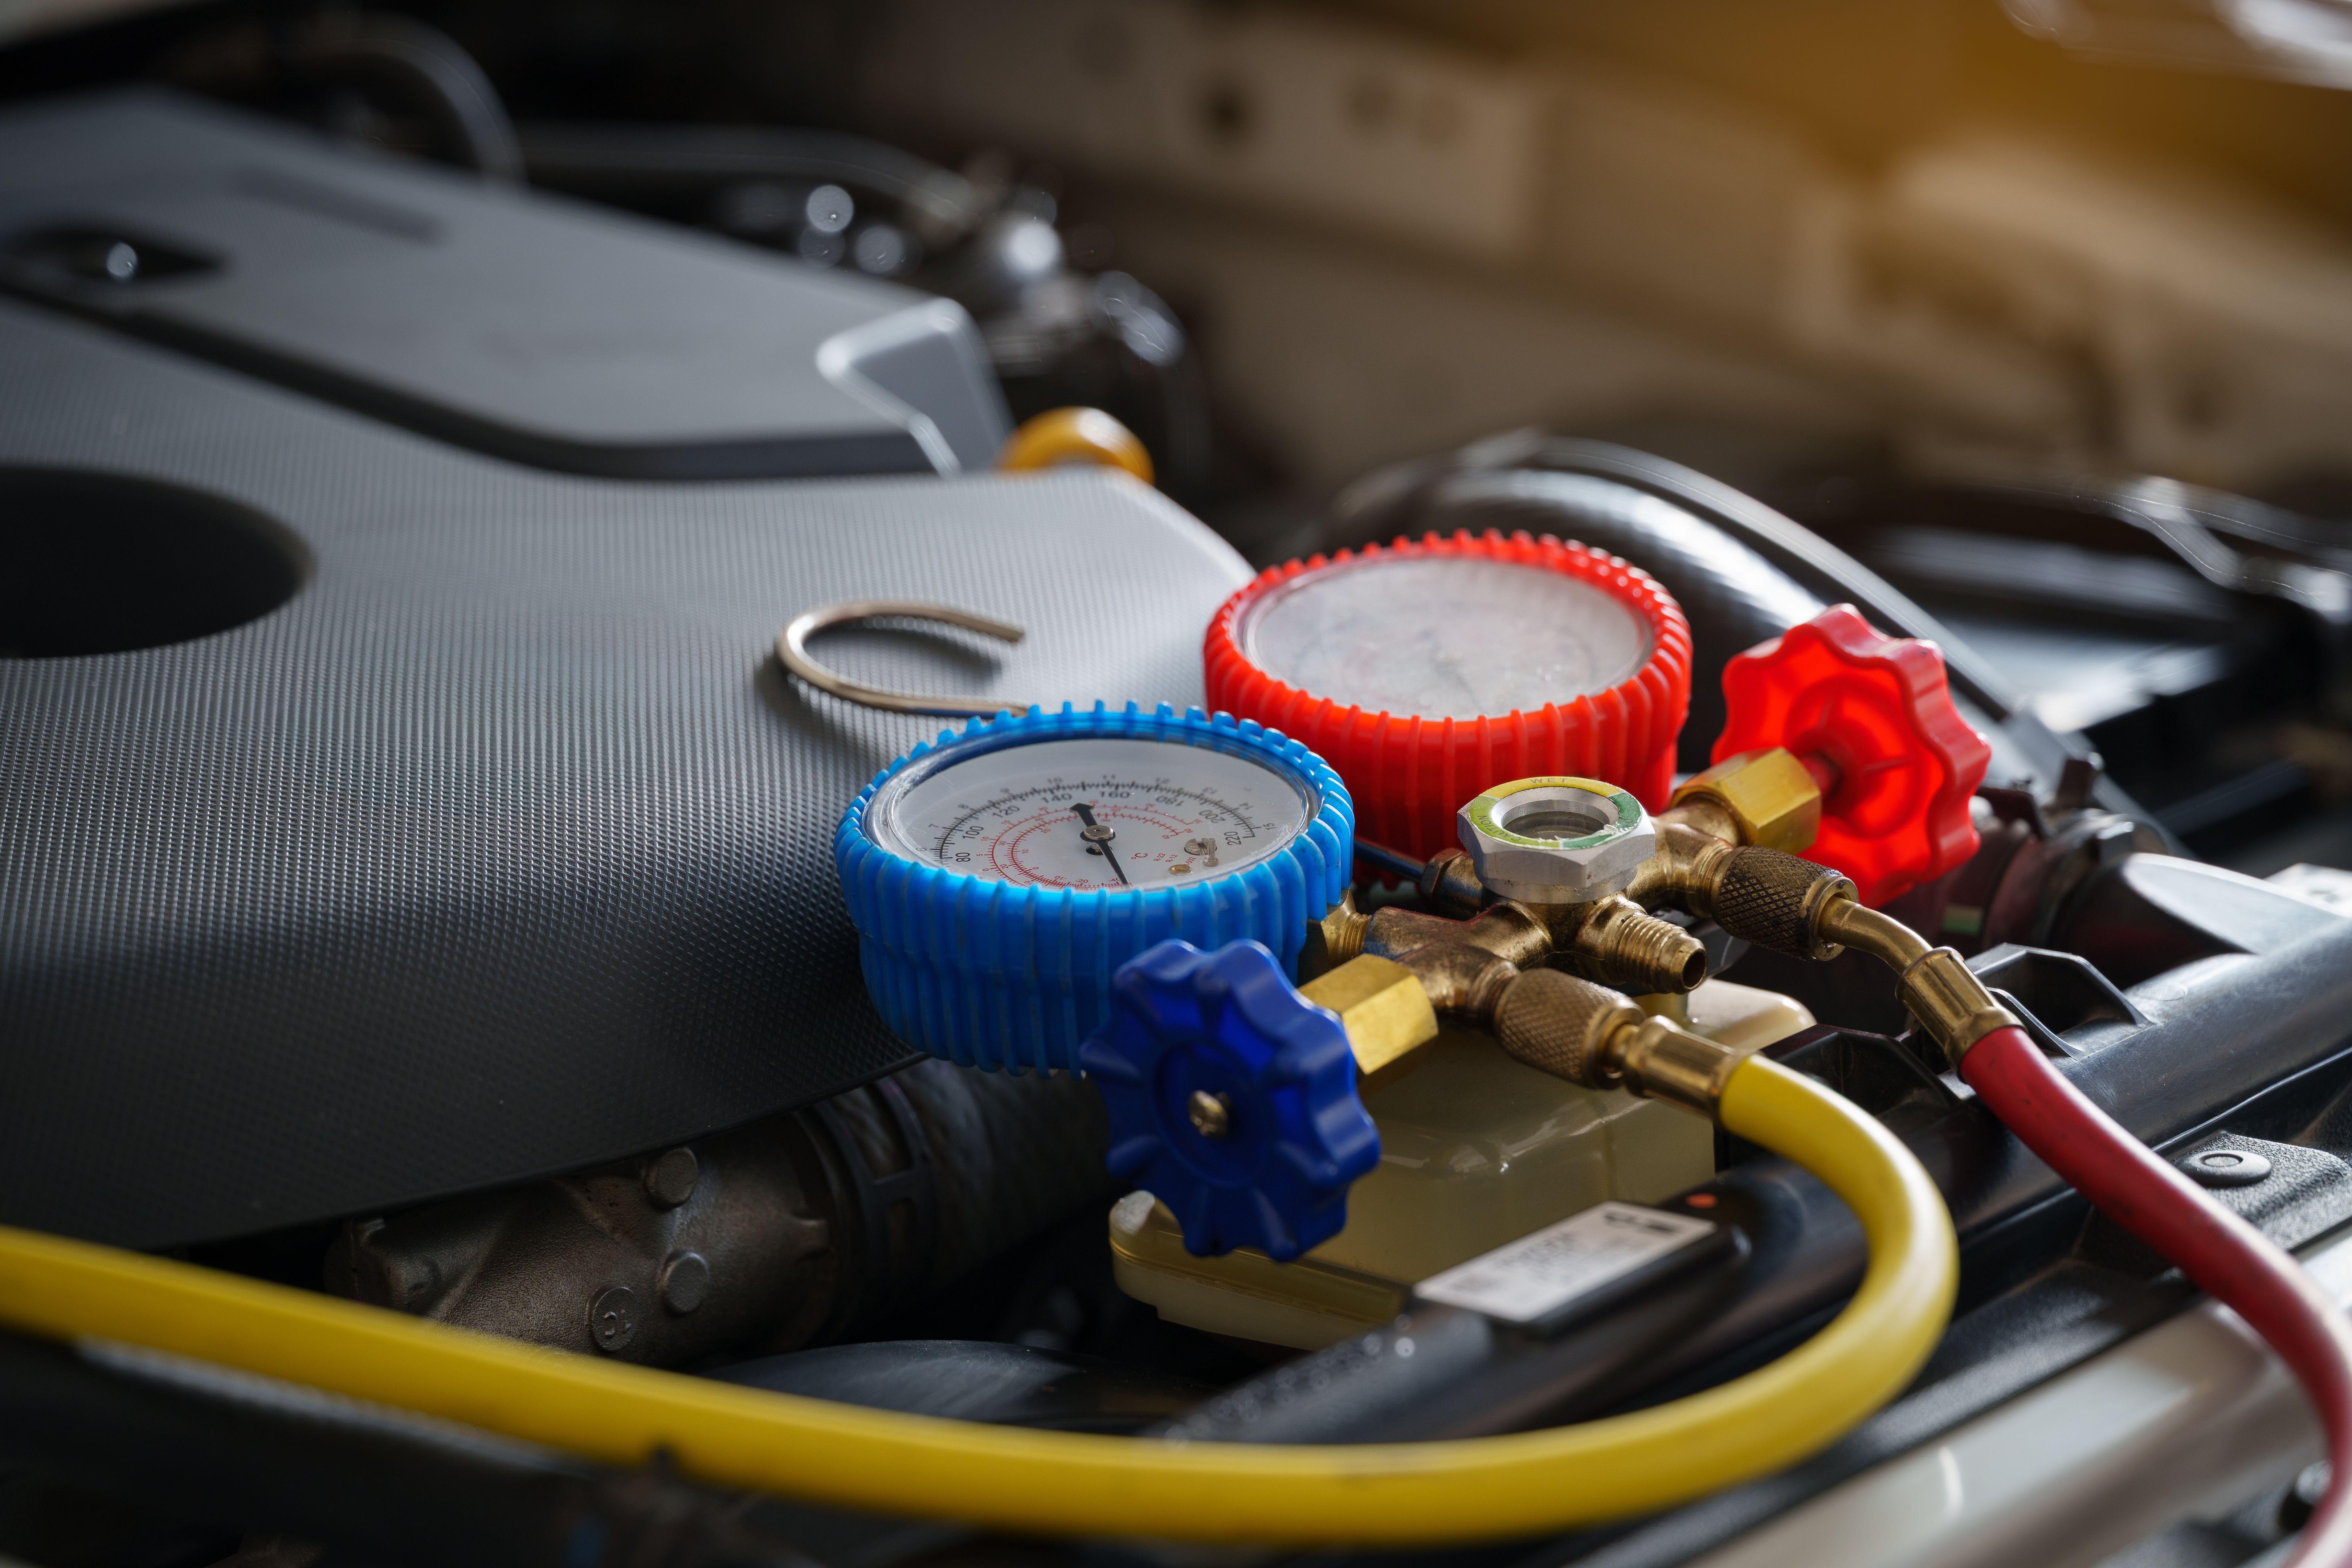
Reassembly and Testing
Once you've cleaned all components, it's time to reassemble your air conditioner. Make sure all parts are dry before putting them back together. Turn on the power and test your unit to ensure it's working correctly. You should notice improved airflow and possibly even cooler air.
In conclusion, regular DIY cleaning of your air conditioner can significantly enhance its performance and lifespan. By following these steps, you can enjoy a more efficient cooling system while also saving on energy costs and repairs. Remember, if you encounter any issues beyond basic cleaning, it's best to consult with a professional technician.