
天花清潔 Made Easy: A Step-by-Step DIY Tutorial


Introduction to Ceiling Cleaning
Ceiling cleaning, or 天花清潔, might not be at the top of your household chores list, but it's an important task that can enhance the overall appearance of your home. Dust, cobwebs, and stains can accumulate over time, making your ceilings look dull and neglected. In this guide, we'll walk you through a simple, step-by-step DIY tutorial to help you clean your ceilings effectively and efficiently.
Gather Your Materials
Before you begin, it's important to gather all the necessary materials. Here's what you'll need:
- Soft-bristle brush or duster
- Vacuum with a brush attachment
- Microfiber cloths
- Mild detergent or ceiling cleaner
- Buckets of warm water
- Extension pole
- Ladder (if needed)
Having these items on hand will streamline the cleaning process and ensure you don't have to pause midway to find something.
Dusting Your Ceiling
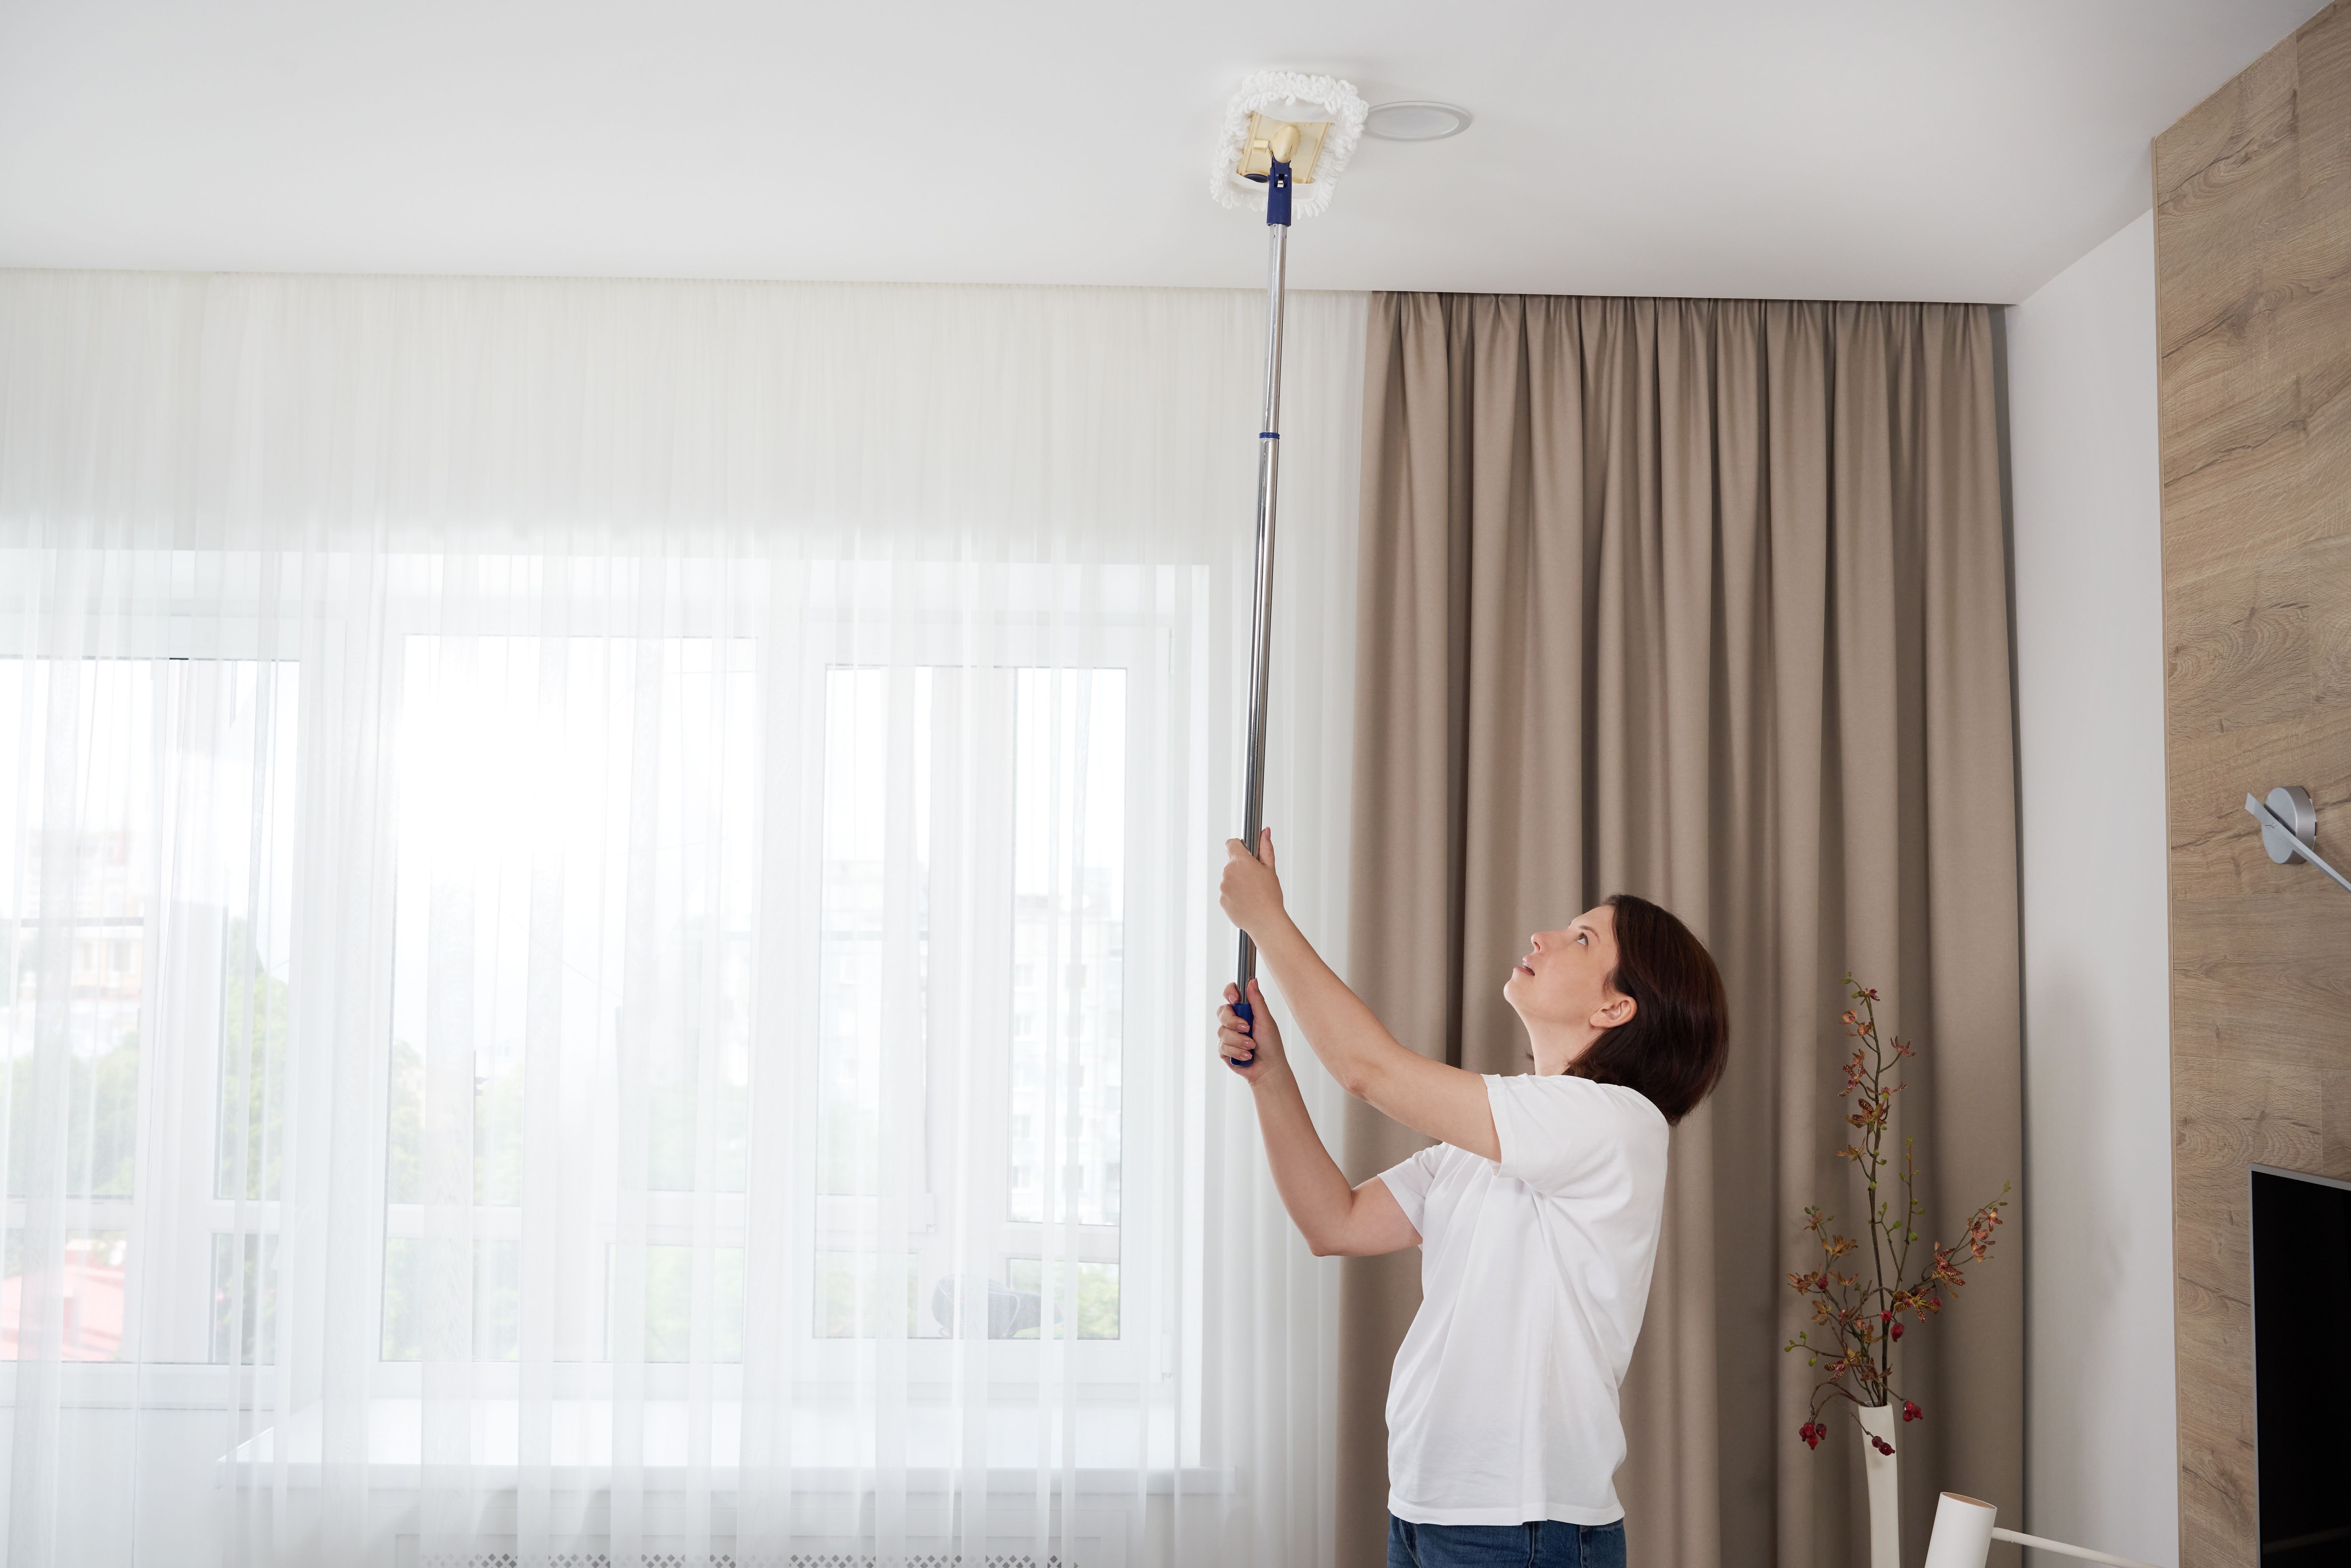
The first step in cleaning your ceiling is to remove any loose dust and cobwebs. Using a soft-bristle brush or a vacuum with a brush attachment, gently sweep across the surface of the ceiling. An extension pole can be very handy here, allowing you to reach high areas without a ladder.
For corners and edges, consider using a microfiber cloth attached to the pole. This will help capture dust without pushing it around. Remember to work systematically from one end of the room to the other to ensure you don't miss any spots.
Cleaning Stains and Spots
Next, address any stains or spots on the ceiling. Mix a small amount of mild detergent with warm water in a bucket. Dip a microfiber cloth into the solution, wring it out well, and gently dab at the stained areas. Avoid soaking the ceiling as excess moisture can damage it.
If your ceiling is painted or contains delicate materials, test a small, inconspicuous area first to ensure the cleaner won't cause any discoloration or damage.

Washing the Entire Ceiling
Once you've dealt with stains, it's time to clean the entire ceiling. Use a larger microfiber cloth or a sponge mop for this task. Dip it into your cleaning solution, wring out excess water, and wipe the ceiling in smooth, even strokes. Work in sections to ensure thorough coverage.
Rinse your cloth or mop frequently in clean water to avoid spreading dirt back onto the ceiling. If you encounter stubborn spots, apply gentle pressure and use circular motions to lift them away.
Drying and Final Touches
After washing, allow the ceiling to air dry. Open windows or use fans to speed up the process if needed. It's important not to rush this step as using artificial heat sources can cause damage.
Once dry, take a moment to inspect your work. If you notice any missed spots or residual marks, address them promptly with a clean cloth. Your ceiling should now look refreshed and revitalized!
Conclusion
Cleaning your ceiling doesn't have to be a daunting task. By following this step-by-step guide, you can achieve a spotless and inviting space that enhances the overall ambiance of your home. Regular maintenance will also make future cleaning efforts much simpler.
Remember, safety is paramount when cleaning ceilings. Always use stable ladders and secure tools if working at heights. With these tips in mind, you're ready to tackle your ceiling cleaning project like a pro!